
Today's DIY was straight out inspired by the beautiful headpiece Keira Knightley flaunted here and from the ramps of trendseters like Marc Jacobs and Anna Sui here n' here!
 We impart the whole rich look that these designer wishlisters create by using velvet flowers and multifaceted gems gleaming in the middle. You can also use faux pearls bought from any craft store. The price I got mine for was a steal and I'm sure that you'll find some that you'd fancy too!
The only rule of the thumb is to make sure you remember the theme is royal and opulent, so choose your embellishments according to that in any color and make them come together in the look you think would be perfect. :) Good quality but economical is the phrase here baby!
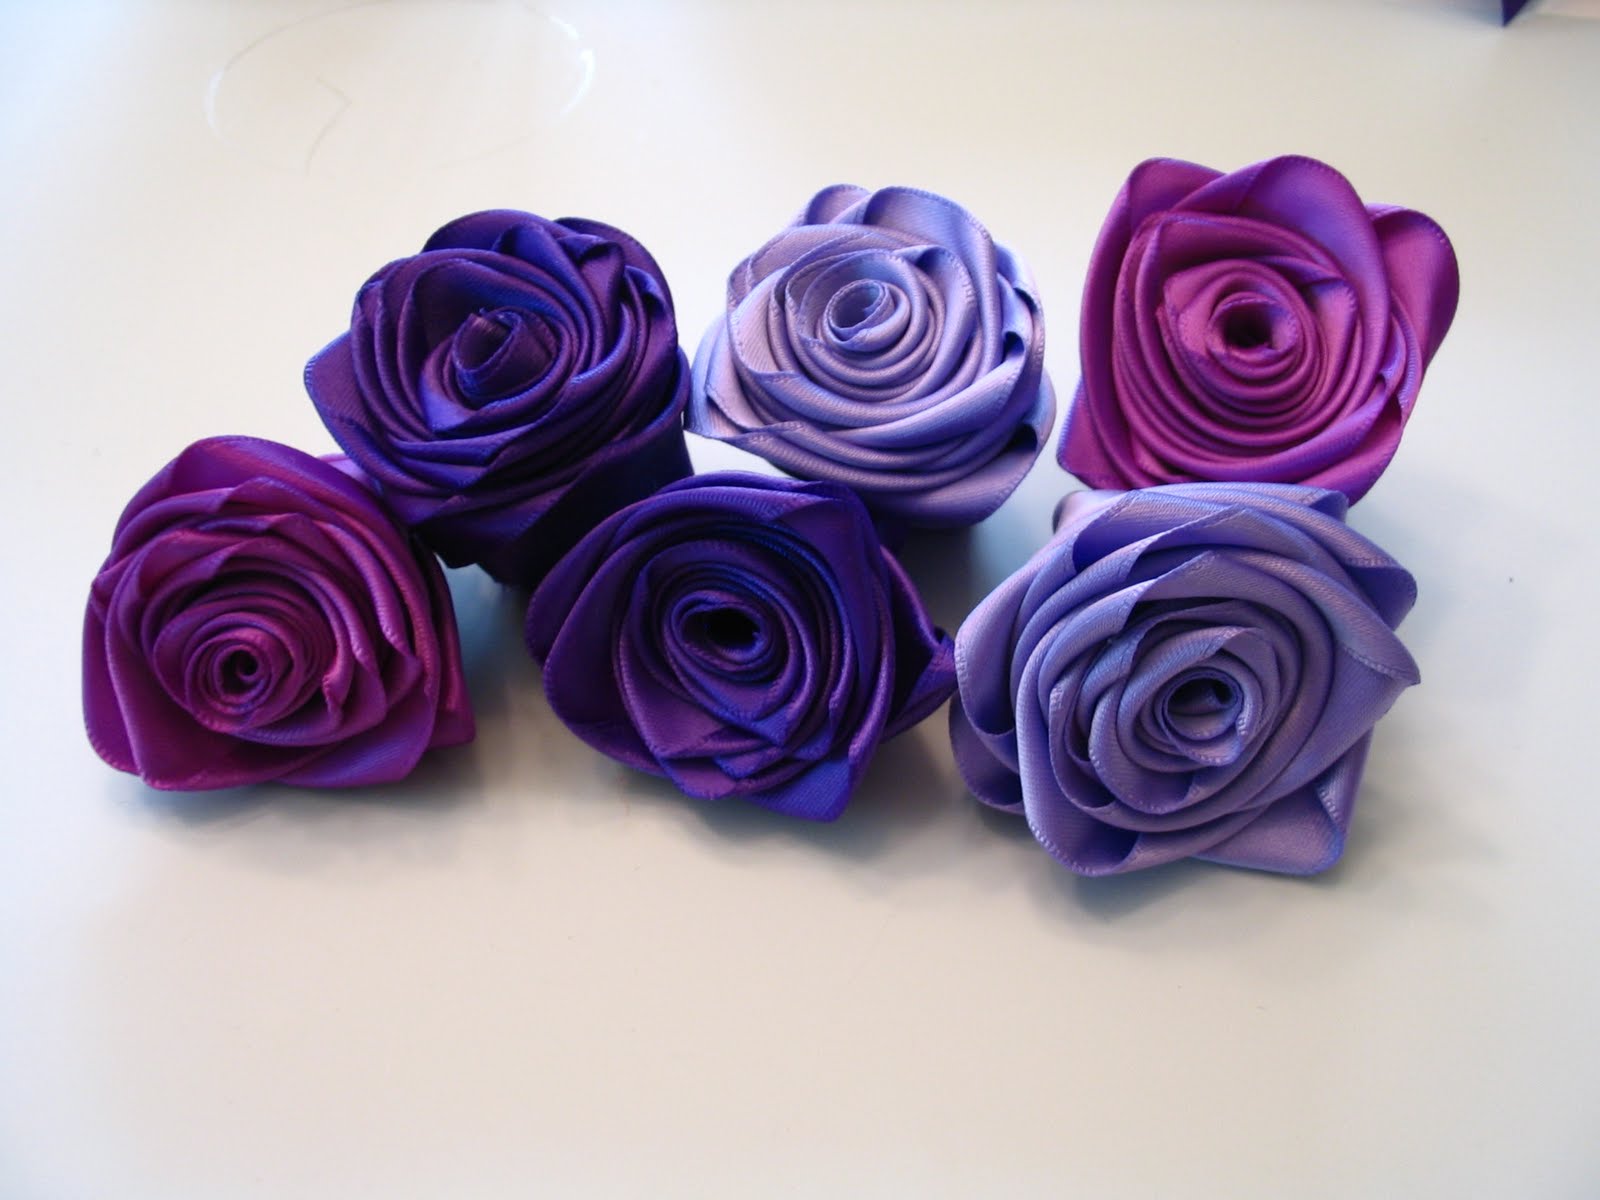
 1.Make sure you map out how many flowers you'd like to have on your headband. I used seven: One bang in the center and three each on the right and left.
2.Use a super-strong glue to adhere the flowers onto the headband because you don't want these fraying and falling off with time! I learnt the hard way to not put blobs directing using the glue nozzle even if i's a small one. Use a toothpick to handle the flowers to avoid having any tacky stray glue strings on them later!
3.Using the toothpick, attach the gems onto the center of each flower and...
Try different combinations! You can just do three on one side or use a velvet/satin ribbon instead of the headband.
TIPS, TIPS, TIPS!
If you wanna add more bling in there, on the base of the headband, first add a sparkly sequin trim in the same color as that of the petals and continue the rest of the steps.
If you are having a hard time finding roses, then just go to a decorations/gift store and grab one of those tiny rose bouquets used for decoration or gift toppers, separate them from the stems and use them instead.


 Drop me a comment for any queries or just to speak your heart out and hope you have many marvelous things to look forward to this year :)

Love, Nash
ps: have a glimpse of my other DIYs here and enjoy! :)
The only rule of the thumb is to make sure you remember the theme is royal and opulent, so choose your embellishments according to that in any color and make them come together in the look you think would be perfect. :) Good quality but economical is the phrase here baby!
2.Use a super-strong glue to adhere the flowers onto the headband because you don't want these fraying and falling off with time! I learnt the hard way to not put blobs directing using the glue nozzle even if i's a small one. Use a toothpick to handle the flowers to avoid having any tacky stray glue strings on them later!
3.Using the toothpick, attach the gems onto the center of each flower and...
Try different combinations! You can just do three on one side or use a velvet/satin ribbon instead of the headband.
TIPS, TIPS, TIPS!
If you wanna add more bling in there, on the base of the headband, first add a sparkly sequin trim in the same color as that of the petals and continue the rest of the steps.
If you are having a hard time finding roses, then just go to a decorations/gift store and grab one of those tiny rose bouquets used for decoration or gift toppers, separate them from the stems and use them instead.
If you like this post, please go ahead and share it with all your buds and pin it on!
.....
You can also subscribe to Craft A Doodle Doo and buddy me on Pinterest & Facebook for so many more glamorous DIYs...because if you're ready to whip up some ah-mazing clutches; the tuts are on soon!
.....
Additionally you can try making your own flowers(which obviously means you won't have to spend anything on the flowers!) shown in this post. Super easy!

Love, Nash
ps: have a glimpse of my other DIYs here and enjoy! :)


