Showing posts with label organization. Show all posts

Tuesday, February 19, 2013

The Decorista Chronicles- DIY Artsy Caddy!

Spruce up your hobby space with this fun and functional DIY project.Just grab some used up tins and jars (pasta sauce, corn, mixed fruit, milk powder you get the gist!),the more varied sizes, the better! You don't really need a detailed tutorial for this, (pictures are worth a thousand words?), but I've added tips along the way!


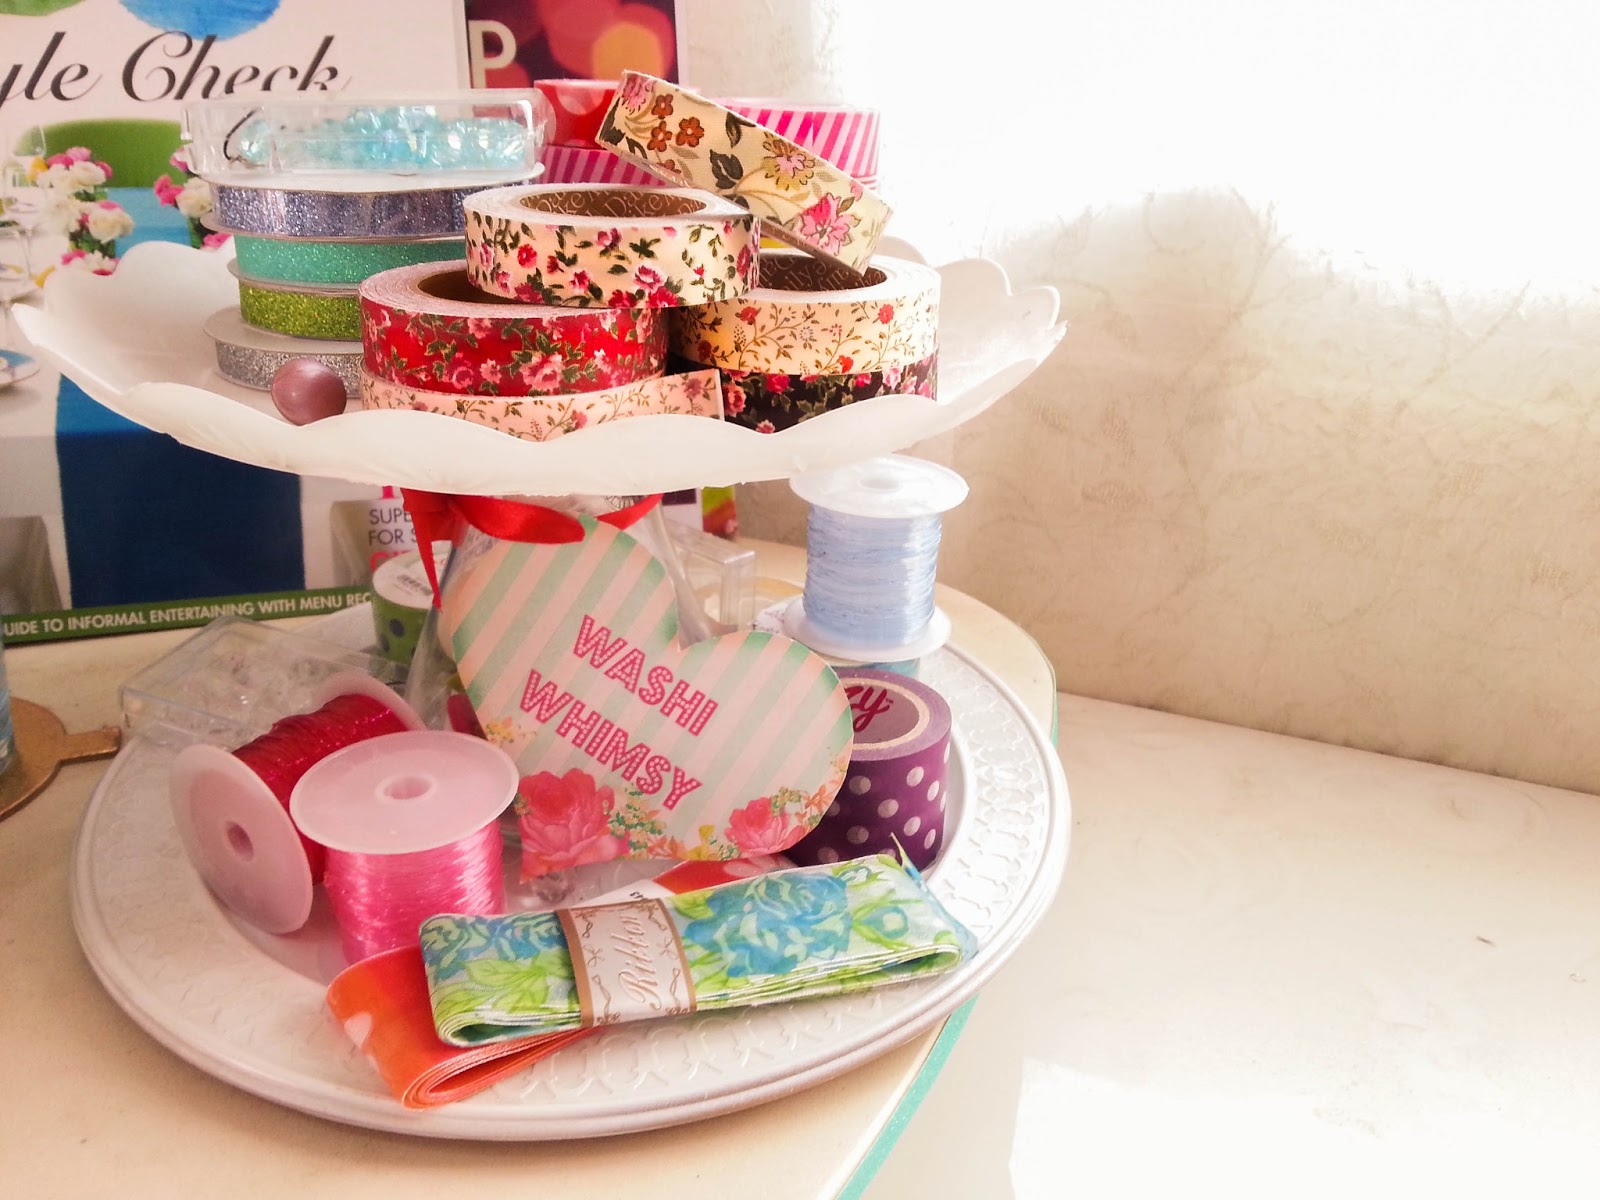
Here's what you need:


1.Nail varnish
2.Craft Glue
3.Tins/jars of assorted sizes
4.Pretty papers/scrap fabric
5.A pair of scissors
6.Lazy Suzan
7.Glue pads (optional)
8.Waste Plastic bottle caps (optional)
You musta noticed my tin cans are sealed, well, that's cuz' I was too excited to take pictures during the project and took this afterwards!


Cut the paper/fabric to size,glue it on to the surface of the can,make as many as you want, fill 'em up!


The jar is taller, which is why I store my paint brushes in there.If you have longer rulers, Pringles cans are perfect! (oh,and those tags from a website I can't remember, I'll post the link here as soon as I find it!)


I use bigger cans (coffee cans, oats cans, milk powder) to store craft glues and bigger marker pens.


If you want to give the larger cans which I kept in the center a lift, glue plastic bottle caps upside down to the bottom of the cans and that should do the trick!
And oh yes, it looks wayyyyy better if you line a third of the inside of the cans with the same paper!


This project was originally inspired from the amazing Cynthia Shaffer here and I added a few additions and touches of my own, so you can customize it too! You should check out Cynthia's version too!

Finally, I didn't glue down my cans but if you are afraid of them toppling over, you can add repositionable gluepads to their bottoms. That way you don't have to worry about them tipping them off and you can pick up a single can and carry it out n' about! :)


               If you want similar papers or the ones I used on my tins, you can find them here and here!


See you with another su-weet tut soon!
Gocreate! <3
Nash :)

Monday, January 21, 2013

The Decorista Chronicles- DIY Jewelry depot!

Here's a one-stop station for your most often used collection of treasures! And it's pretty easy too!
Now I apologize for not having any pictures of the process since I did this ages back and never took pictures in between, but I'll try my best to explain it as clearly as possible!


Here's what you'll need to get started!


1Your beautiful treasury of most favorite accessories!
2.Printed/patterned ribbon
3.Super strong glue
4.Ruler
5.Shoe box with the lid too
6.Pencils
7.A pair of scissors
8.Cardstock (Thick paper or thin cardboard will do)
9.Ribbon..
and the most important which I apologize for not picturing because I somehow misplaced it..
10.Wooden skewer sticks. You use these mostly to string meat or veggies through!

Instructions:

1.Like I said earlier, this is not the same shoe box I used to make my project since I'd already done it long back. If you like the color of your shoe box like me, you could begin right away. If there's something written on your shoe box on the longer sides, you may wanna cover it up or spray paint the whole thing. Don't worry if anything's on the shorter size, the base won't be seen and the top is gonna be covered with a big, cute ribbon!

2.Next, estimate the whole shoe box into three divisions on the longer side. You can see from the picture that I have 3 rows of bangles in there.This is why you gotta estimate it into three parts length-wise.

3.Next,where you want the first row to go, pierce a hole in the side with a skewer stick, level it using the ruler. TRUST ME, leveling has all the importance in this project! Now take the skewer out on the other side, please make sure your stick isn't coming out at a weird angle 

4. Now leave half a centimeter or so(but not TOO close) just beside that stick and pierce another stick through taking it out on the other side as the first one. Its important to leave a little gap between those two sticks and not let them be too close together. This makes the weight of the bangles be distributed evenly.

If you are confused, look at this:


5.That picture above obviously doesn't go by the real dimensions :) Make sure the last couple of skewers you pierce are at least off  the base of the shoe box by the height of your biggest bangle otherwise you wouldn't be able to fit any in your last row!

6.Now after you are done with the shoe box, center it on the shoe box's lid so that the wrong side is facing up.
Like here:


7.Time to make dividers in the lid! Using thin cardboard cut to size, and on one edge line up some strong glue and press it down for a few secs till it stands straight on its own.
Make as many as you want.

8.Now pretty it up. I lined two pieces of printed ribbons length wise (use glue or double sided tape) on my box and covered the top with a ribbon since there was a little bit of printed writing up there too.

And you are done! This will hold up strong for months. Don't worry about the sticks breaking. They're strong enough to support the weight! You just have to level them right and parallel!

You could decorate it as you like. I figured my bangles and accessories are going to add the bling anyway, so I kept that aspect to a minimum.

Scroll down for more pictures!


See you soon!
XOXO!

Sunday, January 20, 2013

The Decorista Chronicles-DIY Bracelet Tower!

I'm here with a quick and ridiculously simple tut for you all today. If your chunky bangles and bracelets are invading a lot more territory than they ought to, organize them in this sweet and stylish way. You can make multiple of these and display them on your vanity and it won't take up a lot of space or time!Promise!:D


Gather up these few supplies and you're good to go!

1.Krylon Glitter spray in Gold. You can use the color of your choice, obviously. I just think gold looks more, erm, classy!
2.Your fabulous stash of bracelets!
3.This is your tower stand now. I decided on an empty room mist fragrance bottle. You'll want it to be slim, sleek and sturdy. Mine is frosted glass with a steel cap.
4.Heavy coasters/lids. I used the lid of a jar that never needed a lid :)
5.Glue gun sticks, so, duh, a glue gun!


Here's how to wrap up this project in no time!
1.Spray all over the lid and its rim according to the instructions of the paint can and let it dry. Consider doing multiple coats if its glitter spray, you don't want a single coat and the glitter scattering away a few days later!
2. Center your spray bottle (btw if you want, you could spray this over too, I have no idea why I didn't want to. It was going to be covered up with my bracelets anyhow)
3. Is it centered? Great! Glue it down!
4.Almost done, but if you want enhance your base more with a trim of washi or fabric tape)
5. Pile up your bangles and that's it!

Hardly any effort, correct?

PS. I would recommend coasters more for this project (y'know, like the glass coasters from Ikea?) The heavier the better. DO NOT by any means chose to do this with any lightweight lid because you'll just have your bangles and bracelets tumbling all over UNLESS you have supernaturally lightweight bangles too ;)


Gonna post another project up soon!
XOXO!!!

Wednesday, January 16, 2013

The Decorista Chronicles:Adorable DIY Washi Stand!


When my aunt gifted me this glorious overload of washi goodness, I faced a wee little problem.Storage. I did have ideas in my mind like this fabulous one ( here ) but call me weird and stubborn, I just had to see it in sight all the time just because it was so pretty! So I needed a thrifty way to have it sitting smug on my workspace without it looking cluttered.And here it is! This stand is just perfect, and because it's white it gives a clean look and charms at the same time! Plus, it's crazy simple!

Here's what you'll need to recreate this:


1. Your wayyy- too- gorgeous washi collection to be hidden!
2.Sturdy plastic plates, mine were transparent, take two if you want it two-tired, the base one being bigger in diameter, you could also use cheap glass plates (think vintage china)


3.Something to support the top-tier to the bottom one. I've seen cakestand tutorials use candle holders.  You could also invert a stem glass. Here, I used a small transparent glass vase from Ikea.
4.This is optional. I downloaded a free printable name tag and tagged the words Washi Whimsy in there. Skip this one if you want.
5.A glue gun or any super strong glue to glue your assorted parts together.

Instructions:
1.If you want to spray paint your plates and the support (like the vase or candle-holder), do so first( I did mine white, but left the vase as is) and let it dry according to the time it says in the instructions on the can.
2. After that, center your support on the base plate, don't glue it down yet and see how it looks with the second plate on top.
3.After your are happy with your arrangement, you are ready to glue it down.
4. I simply tied the name tag using a red ribbon around the neck of my vase.
5. Display your washi and enjoy!


Things to consider during assemblage:
Keep in mind the weight of the items that you would be putting on those plates. Lightweight plates are probably not a good option if you are putting too much stuff in there. The base plate should be the heaviest and depending on the amount of stuff, the support should be pretty sturdy too.


Catchya all next time! :)
<3


Wednesday, January 9, 2013

Give em pretties a home!- DIY Trinket Jars


If your lil knick knacks keep getting lost in the midst all your bigger hobby or household supplies, here's a super-quick and super-cute way to get them organized!


You'll need:
1.A pair of scissors
2.Empty cream jars (usually used up skincare tubs, especially handy if they are see-through or semi see-through)
3.Washi tape, I chose two different kinds, a pretty floral one and a beige based floral one
4.And your little trinkets and baubles!


How to:
I know how many of us reuse empty jars, but this is a really instant way to refresh their look!
Just wash the jars and let them dry for an appropriate time. My brand's name was worded in the center portion of the jars which is why I aligned the washi that way. You can align it as per your requirement. Snip off after covering the entire circumference of the jars and fill em up with your pretty trinkets and voila! You're done!


These are so cute and go so well with my workspace, they are efficient and adorable storage solutions at the same time!
Till next time..
xoxo!

FRESH IRRESISTABLE IDEAS...

RIGHT TO YOUR INBOX!

* indicates required

View previous campaigns.